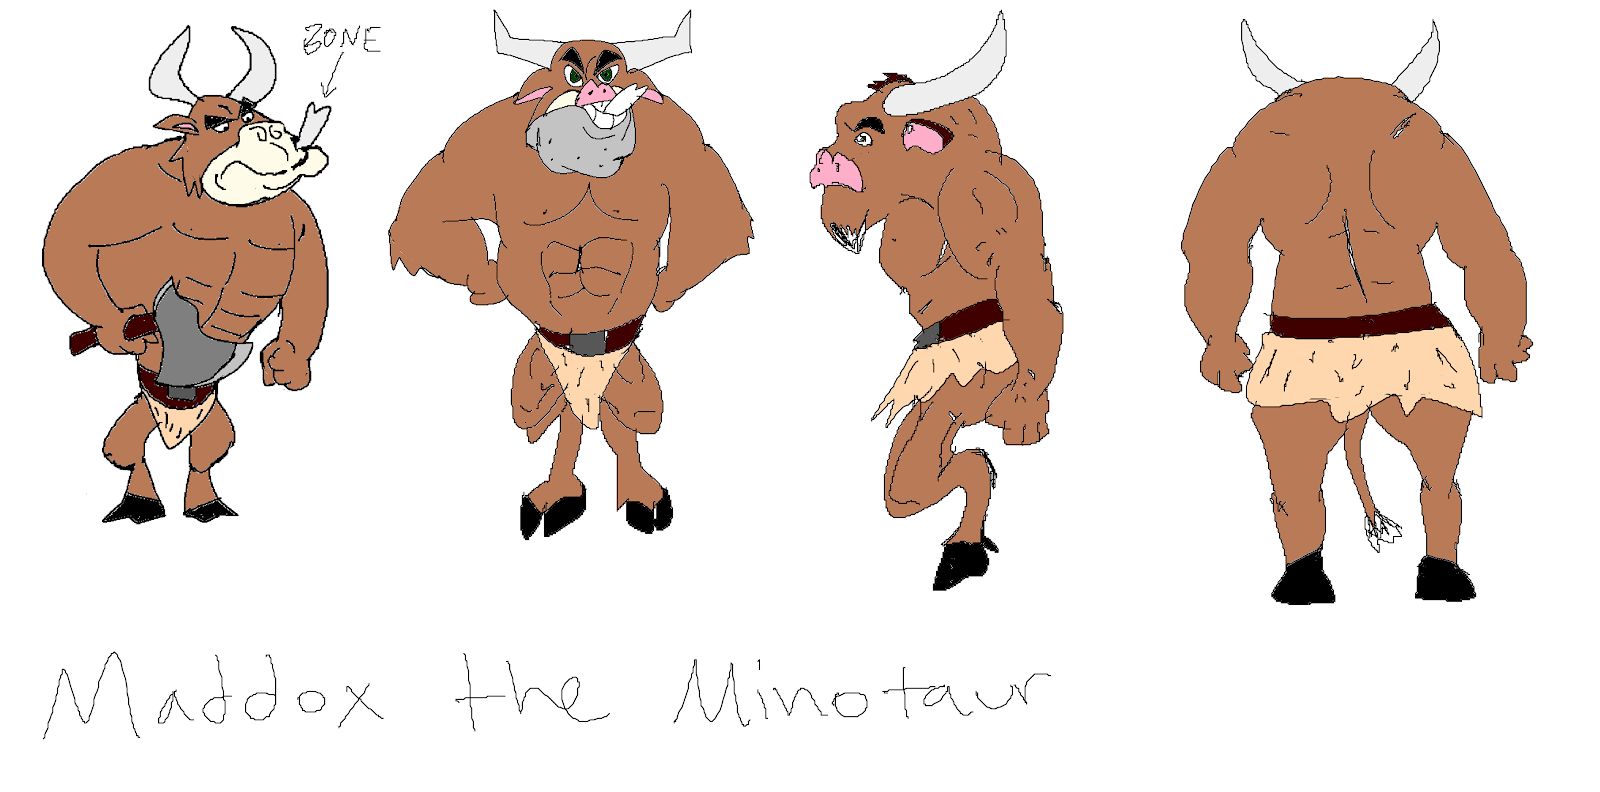
Maddox the Minotaur
Development Process
Initial Concept:
A minotaur is a Greek mythological creature. The story behind the minotaur is that he was a fabulous monster of Crete that had the body of a man and the head of a bull. It was the offspring of Pasiphae, the wife of Minos, and a snow-white bull sent to Minos by the god Poseidon for sacrifice.
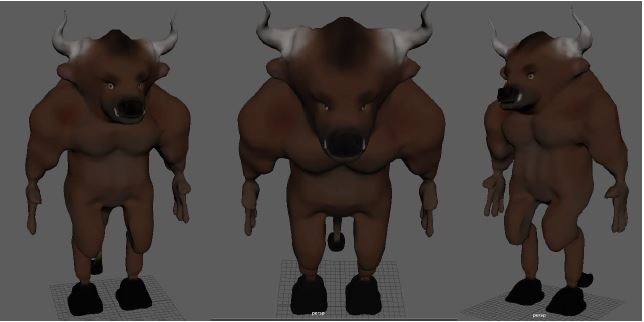
My version of the minotaur is named Maddox and the style I was going for was a blend of realistic features as well as more cartoonish, exaggerated parts. He’s a big brawler type of character, which is accentuated well by his large upper body and smaller lower body which is a common feature in more heavyset types of characters.
Concept Art:

Workflow:
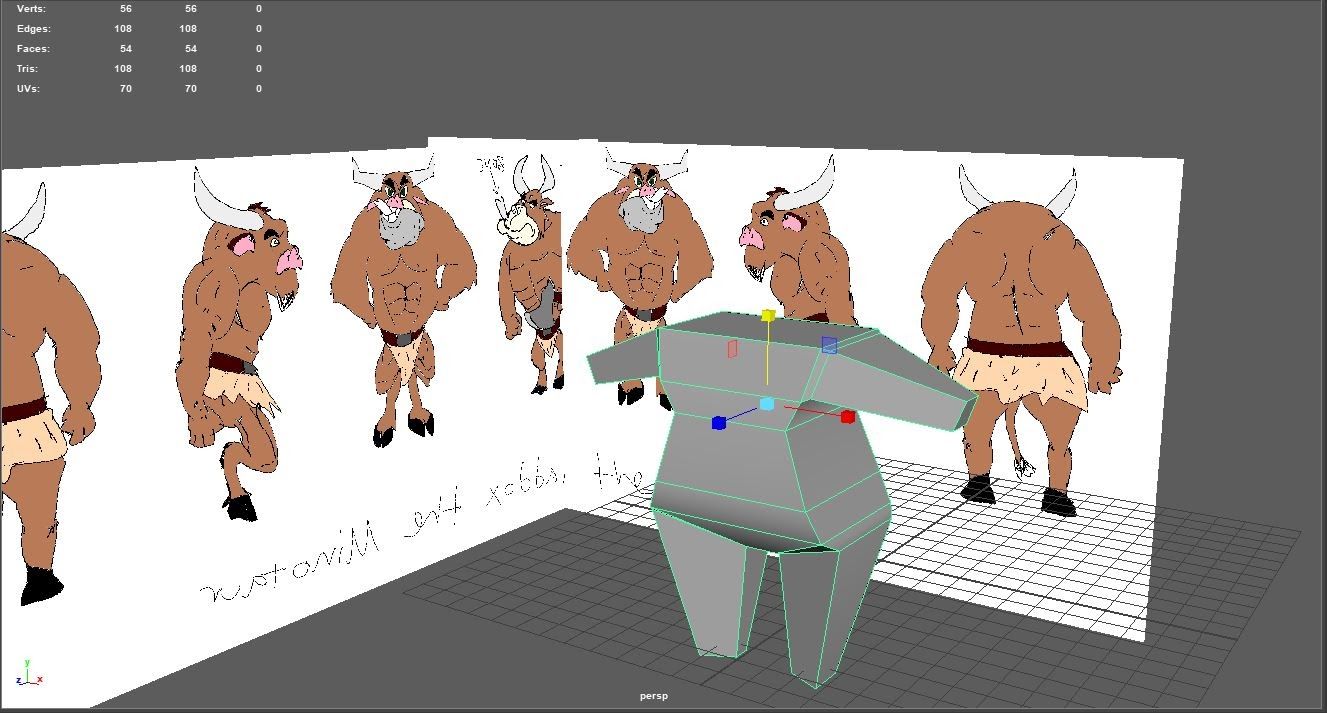

I started off box modeling the minotaur in Maya.
Looking back I should’ve spent less time on this phase because it’s hard to get organic looking creatures without using sculpting tools.
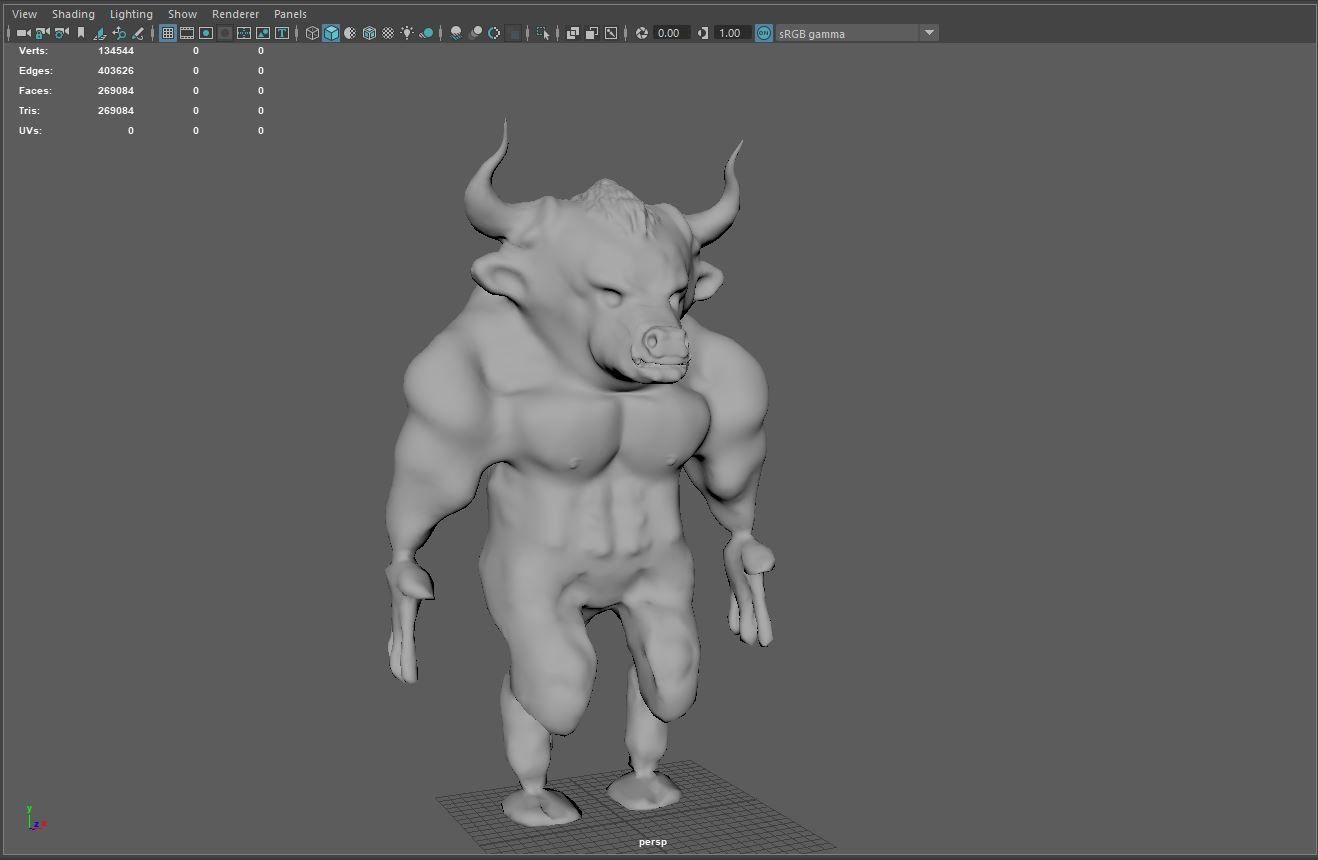
Once I had the basic body shape I liked I added more detail to him in Sculptris.
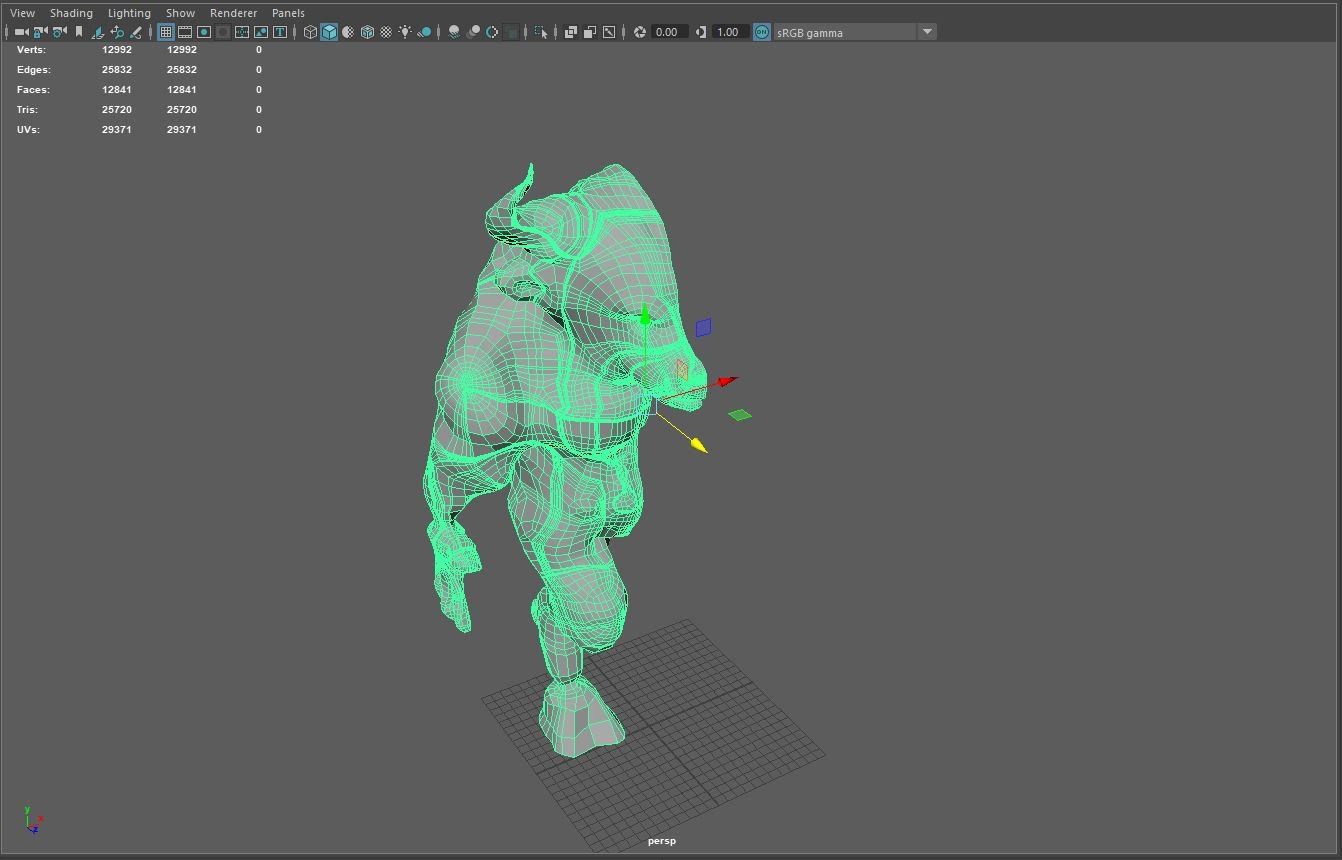
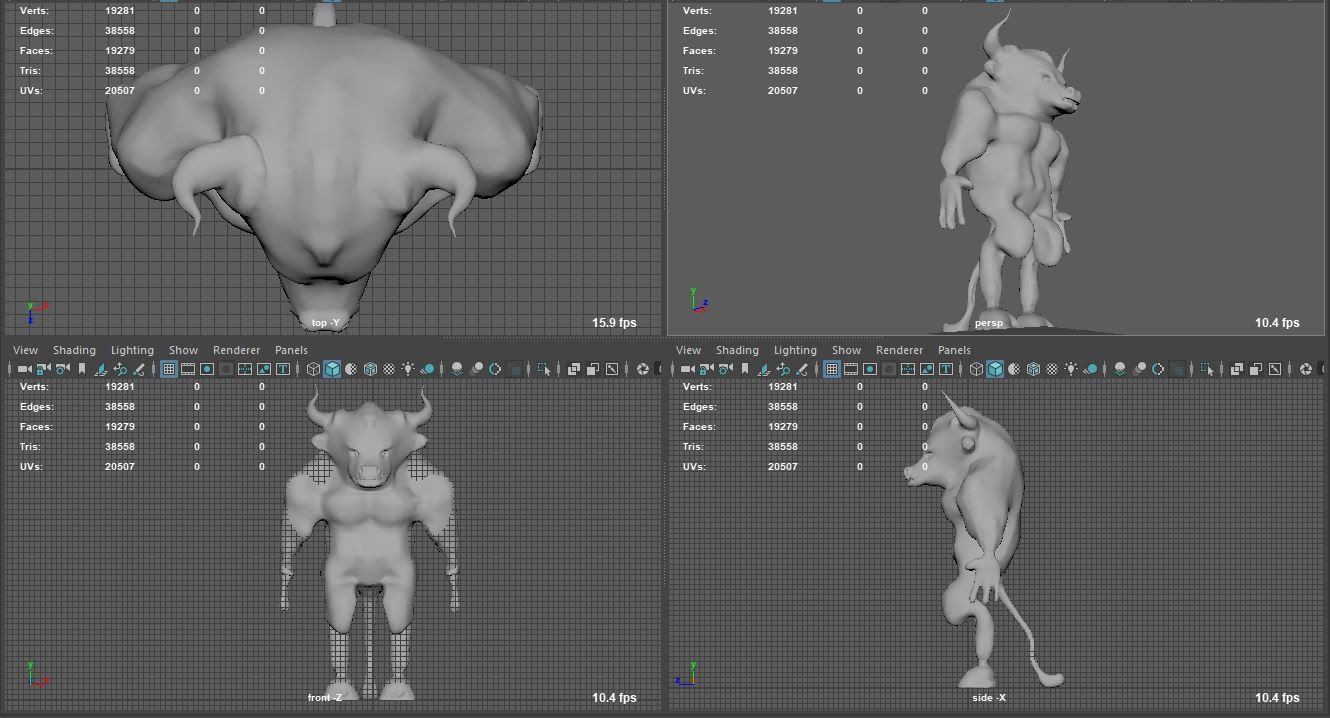
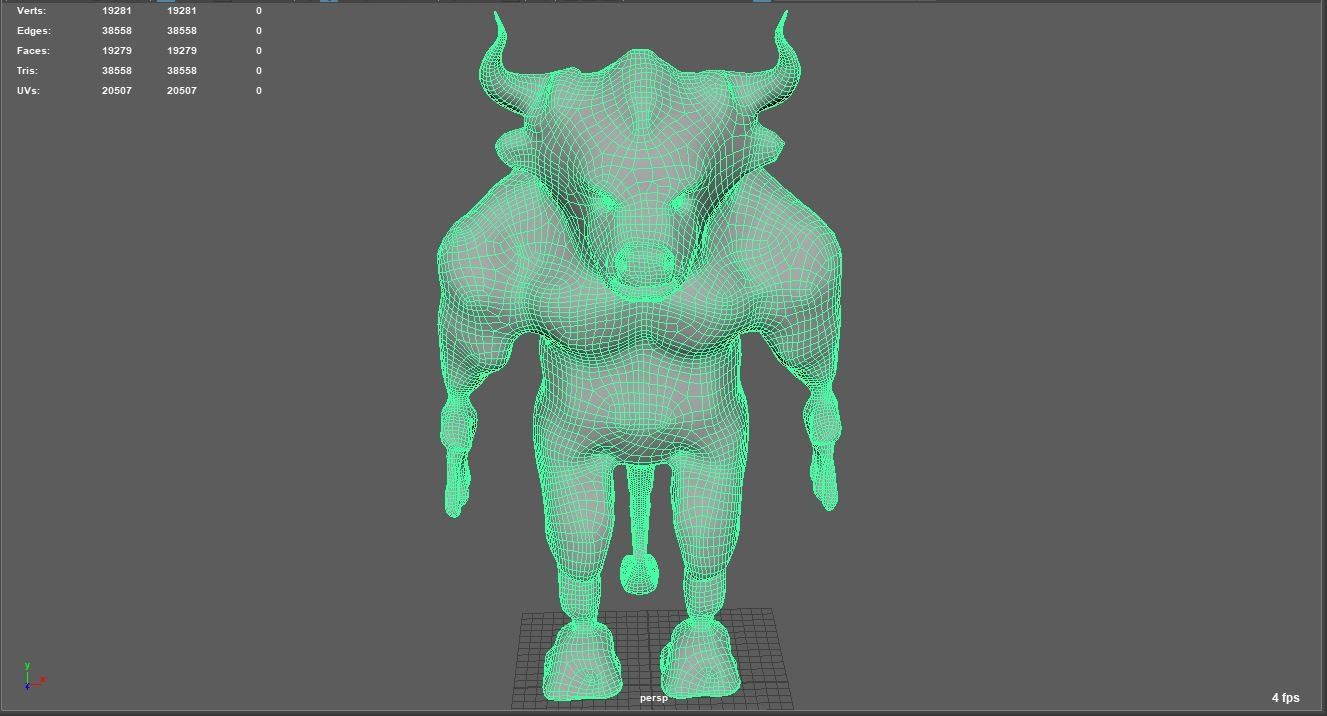
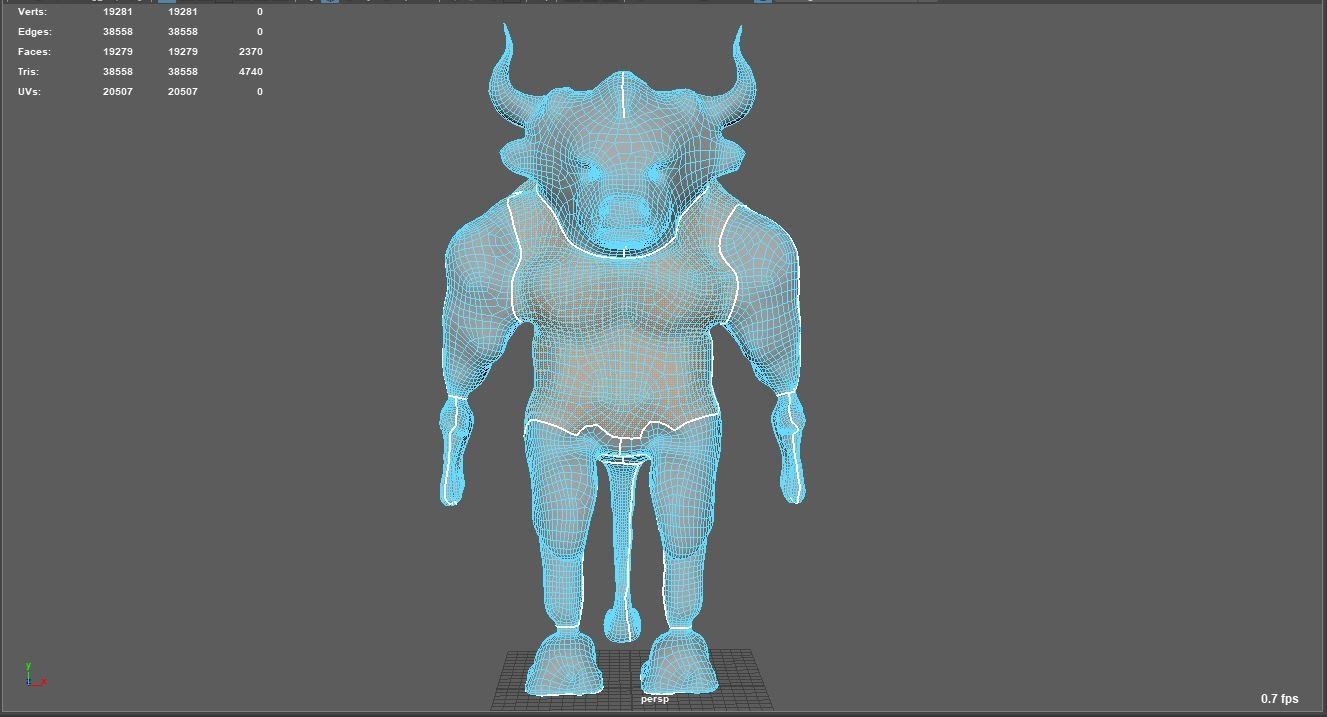
I re-topologized half of his body and duplicated it on the other side. I also made his hooves bigger at this stage in the process so he would be able to support his large body frame.
The final version has all quads and I fixed problems with the horns, feet, and hard edges that looked unnatural in some places. It’d be better if Maddox had a smaller polygon count but I wanted to preserve as much detail as possible so it was quite high in the end.


Texturing and Shading:
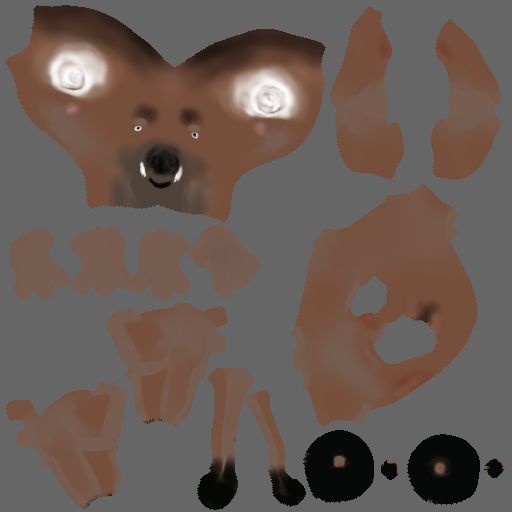
My first iteration of texturing and shading featured a dark color palette, there are bags underneath his eyes and he looks angry because I wanted to create a brooding looking character.
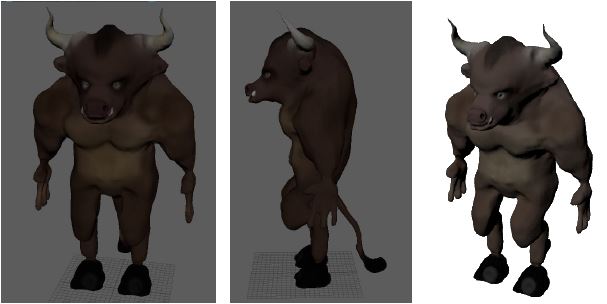
My second attempt is the one I like better out of the two. He still looks intimidating which I like, but he’s also a little bit goofy and fun looking, which is something I tried to convey in my original sketch.
Lighting:
This is the three point lighting system I went with. I used the Arnold renderer within Maya to render the images.


Unwrapping:
Normal Map

Bump Map
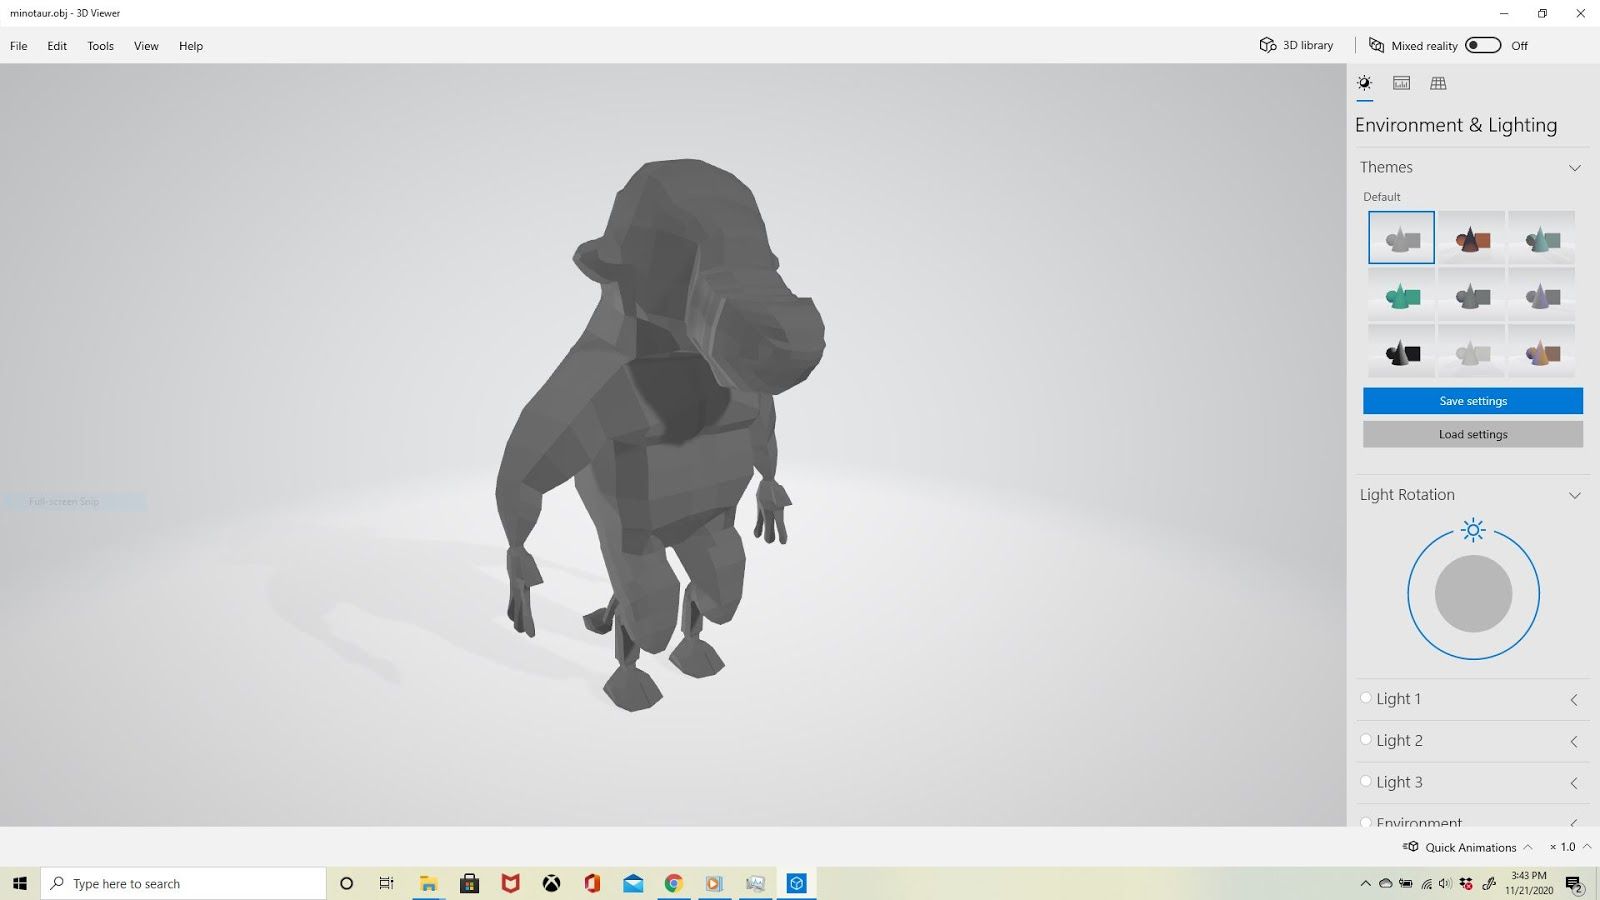
3D Printing:
The 3D print process was challenging but rewarding. I learned many things, not just with setting up the printer (mine being the Ender 3 V2) but also with figuring out how to get my prints to come out successfully. The most challenging problems I overcame were learning how to add support structures and blockers to the minotaur where there were weak points and where overhang occurred, learning how to change temperature settings to both the nozzle and bed based on what type of filament was being used, and learning how to maintain adhesion to the model while it was printing so that it wouldn’t pop off mid-print (Elmer’s glue was the unlikely solution).
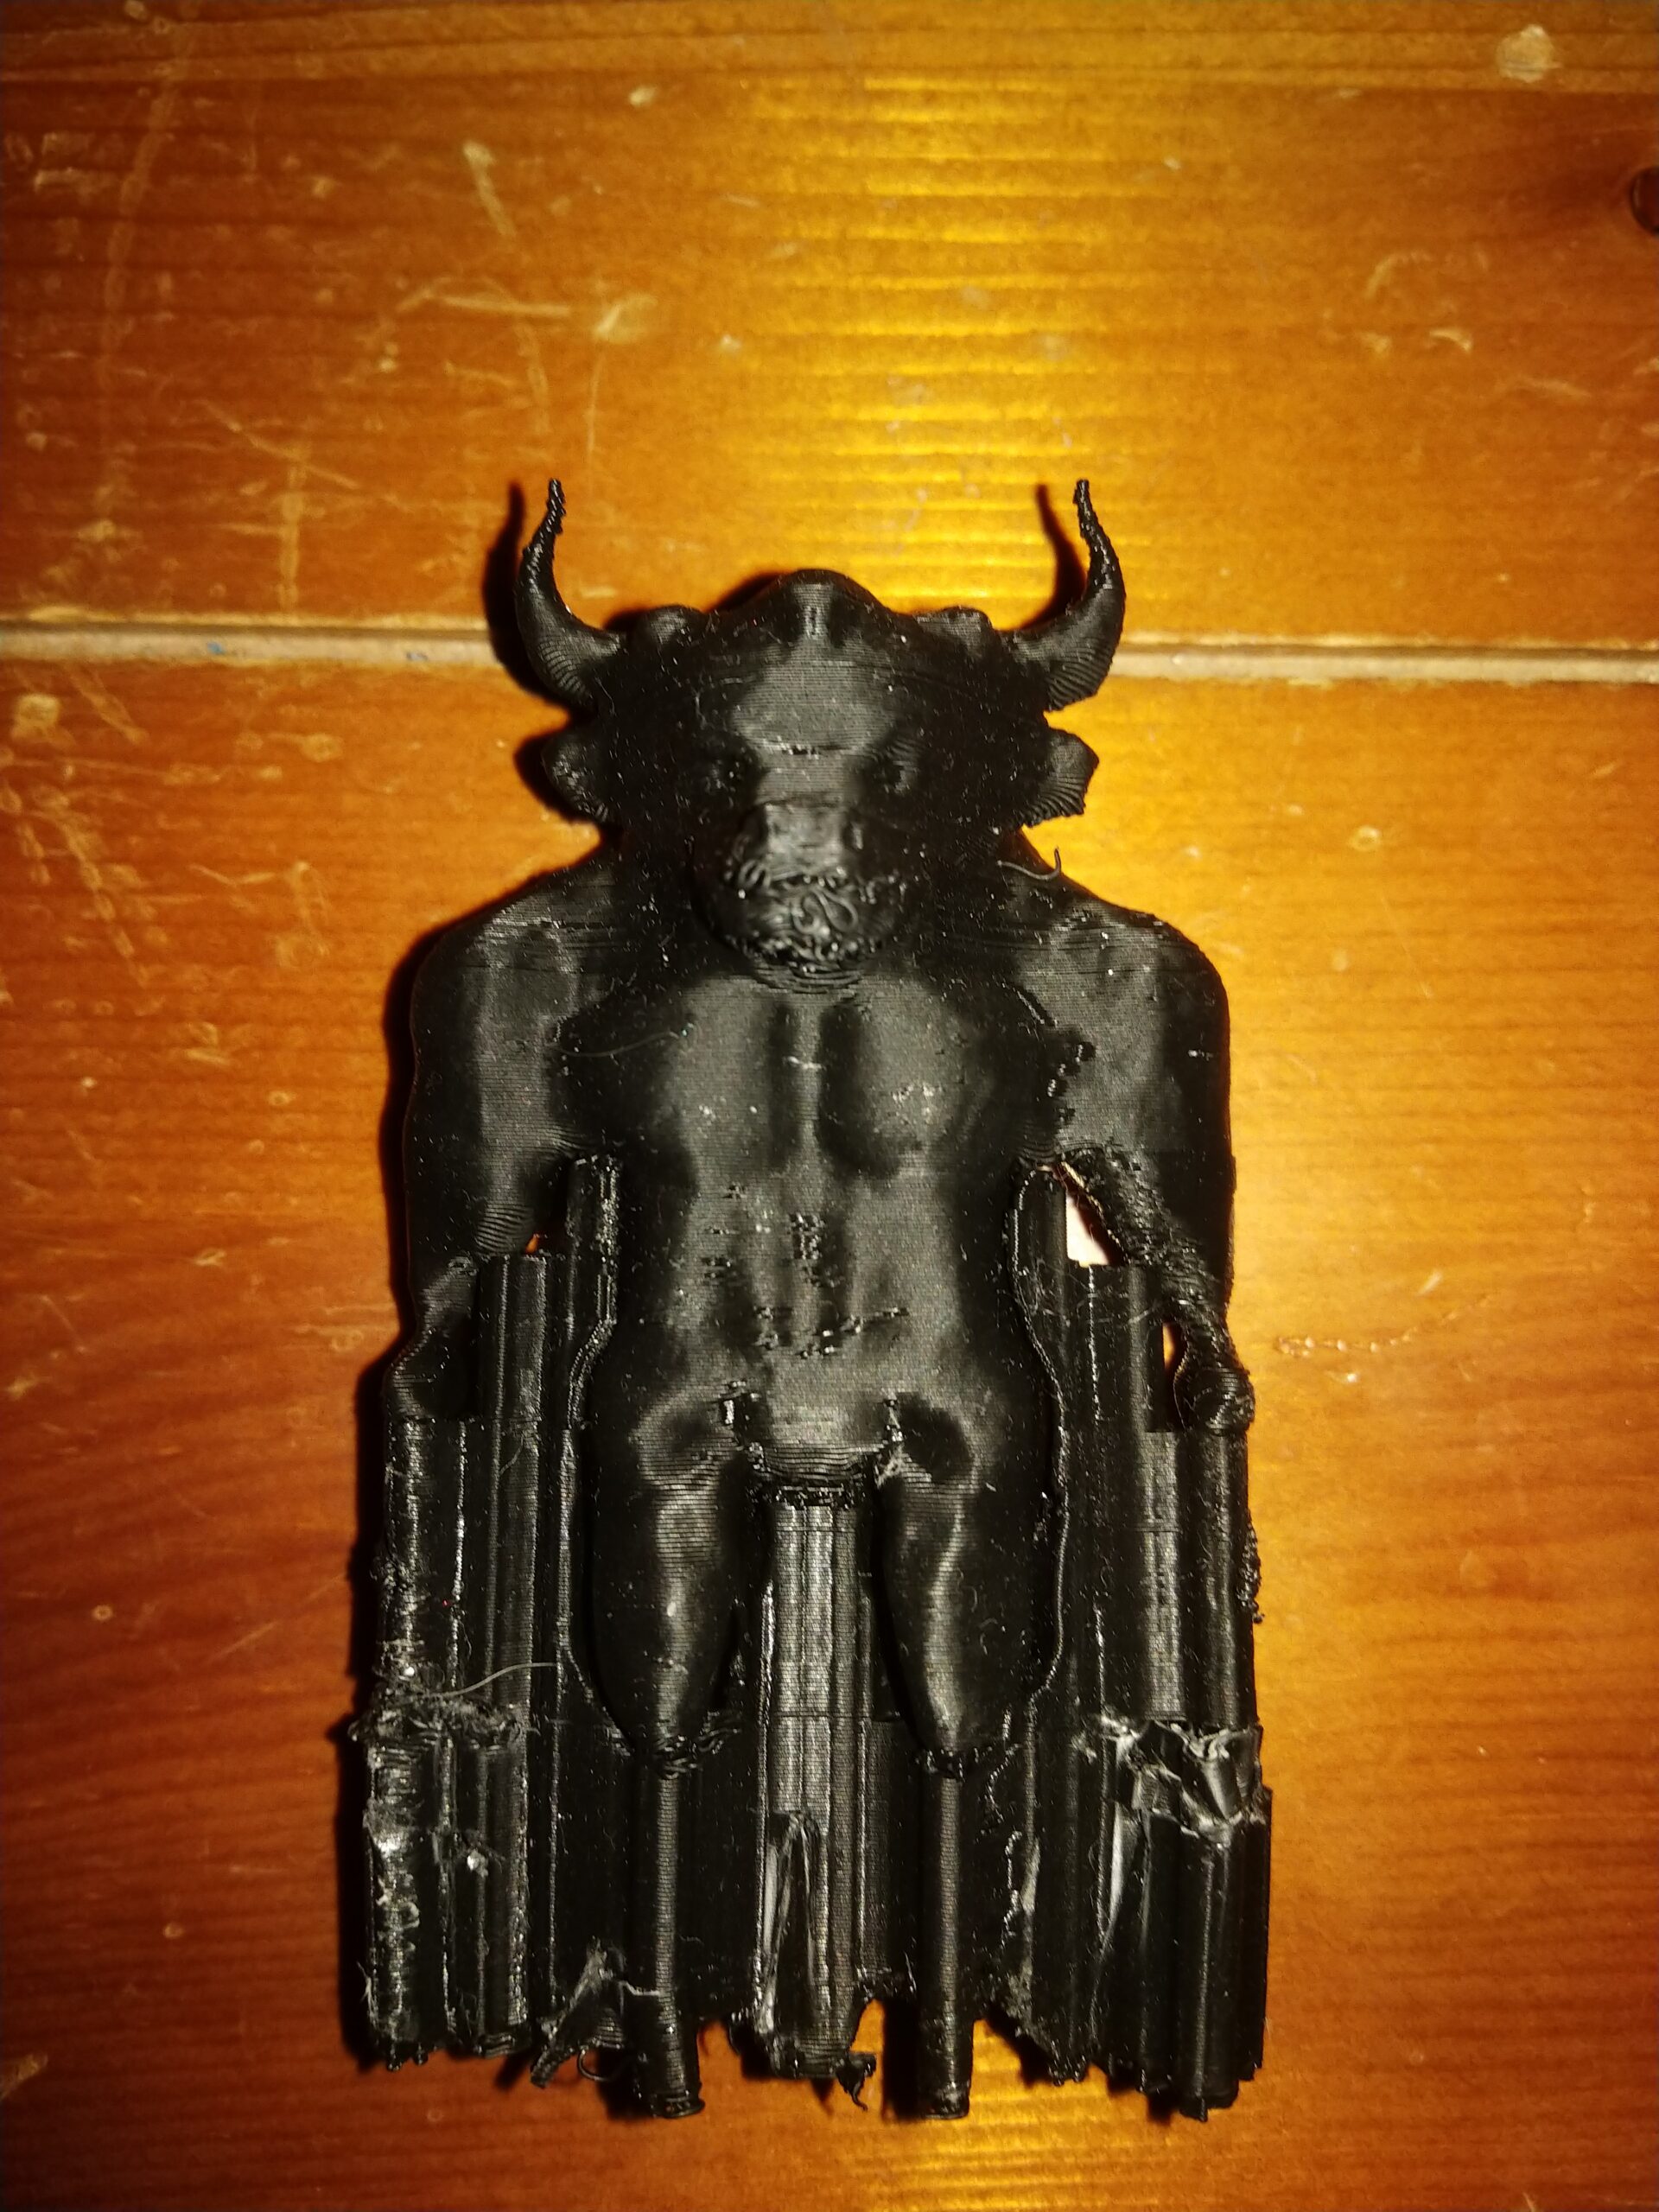
This is an example of how not to use support structures. I generated support structures everywhere instead of just where I needed it which made it hard to get off.
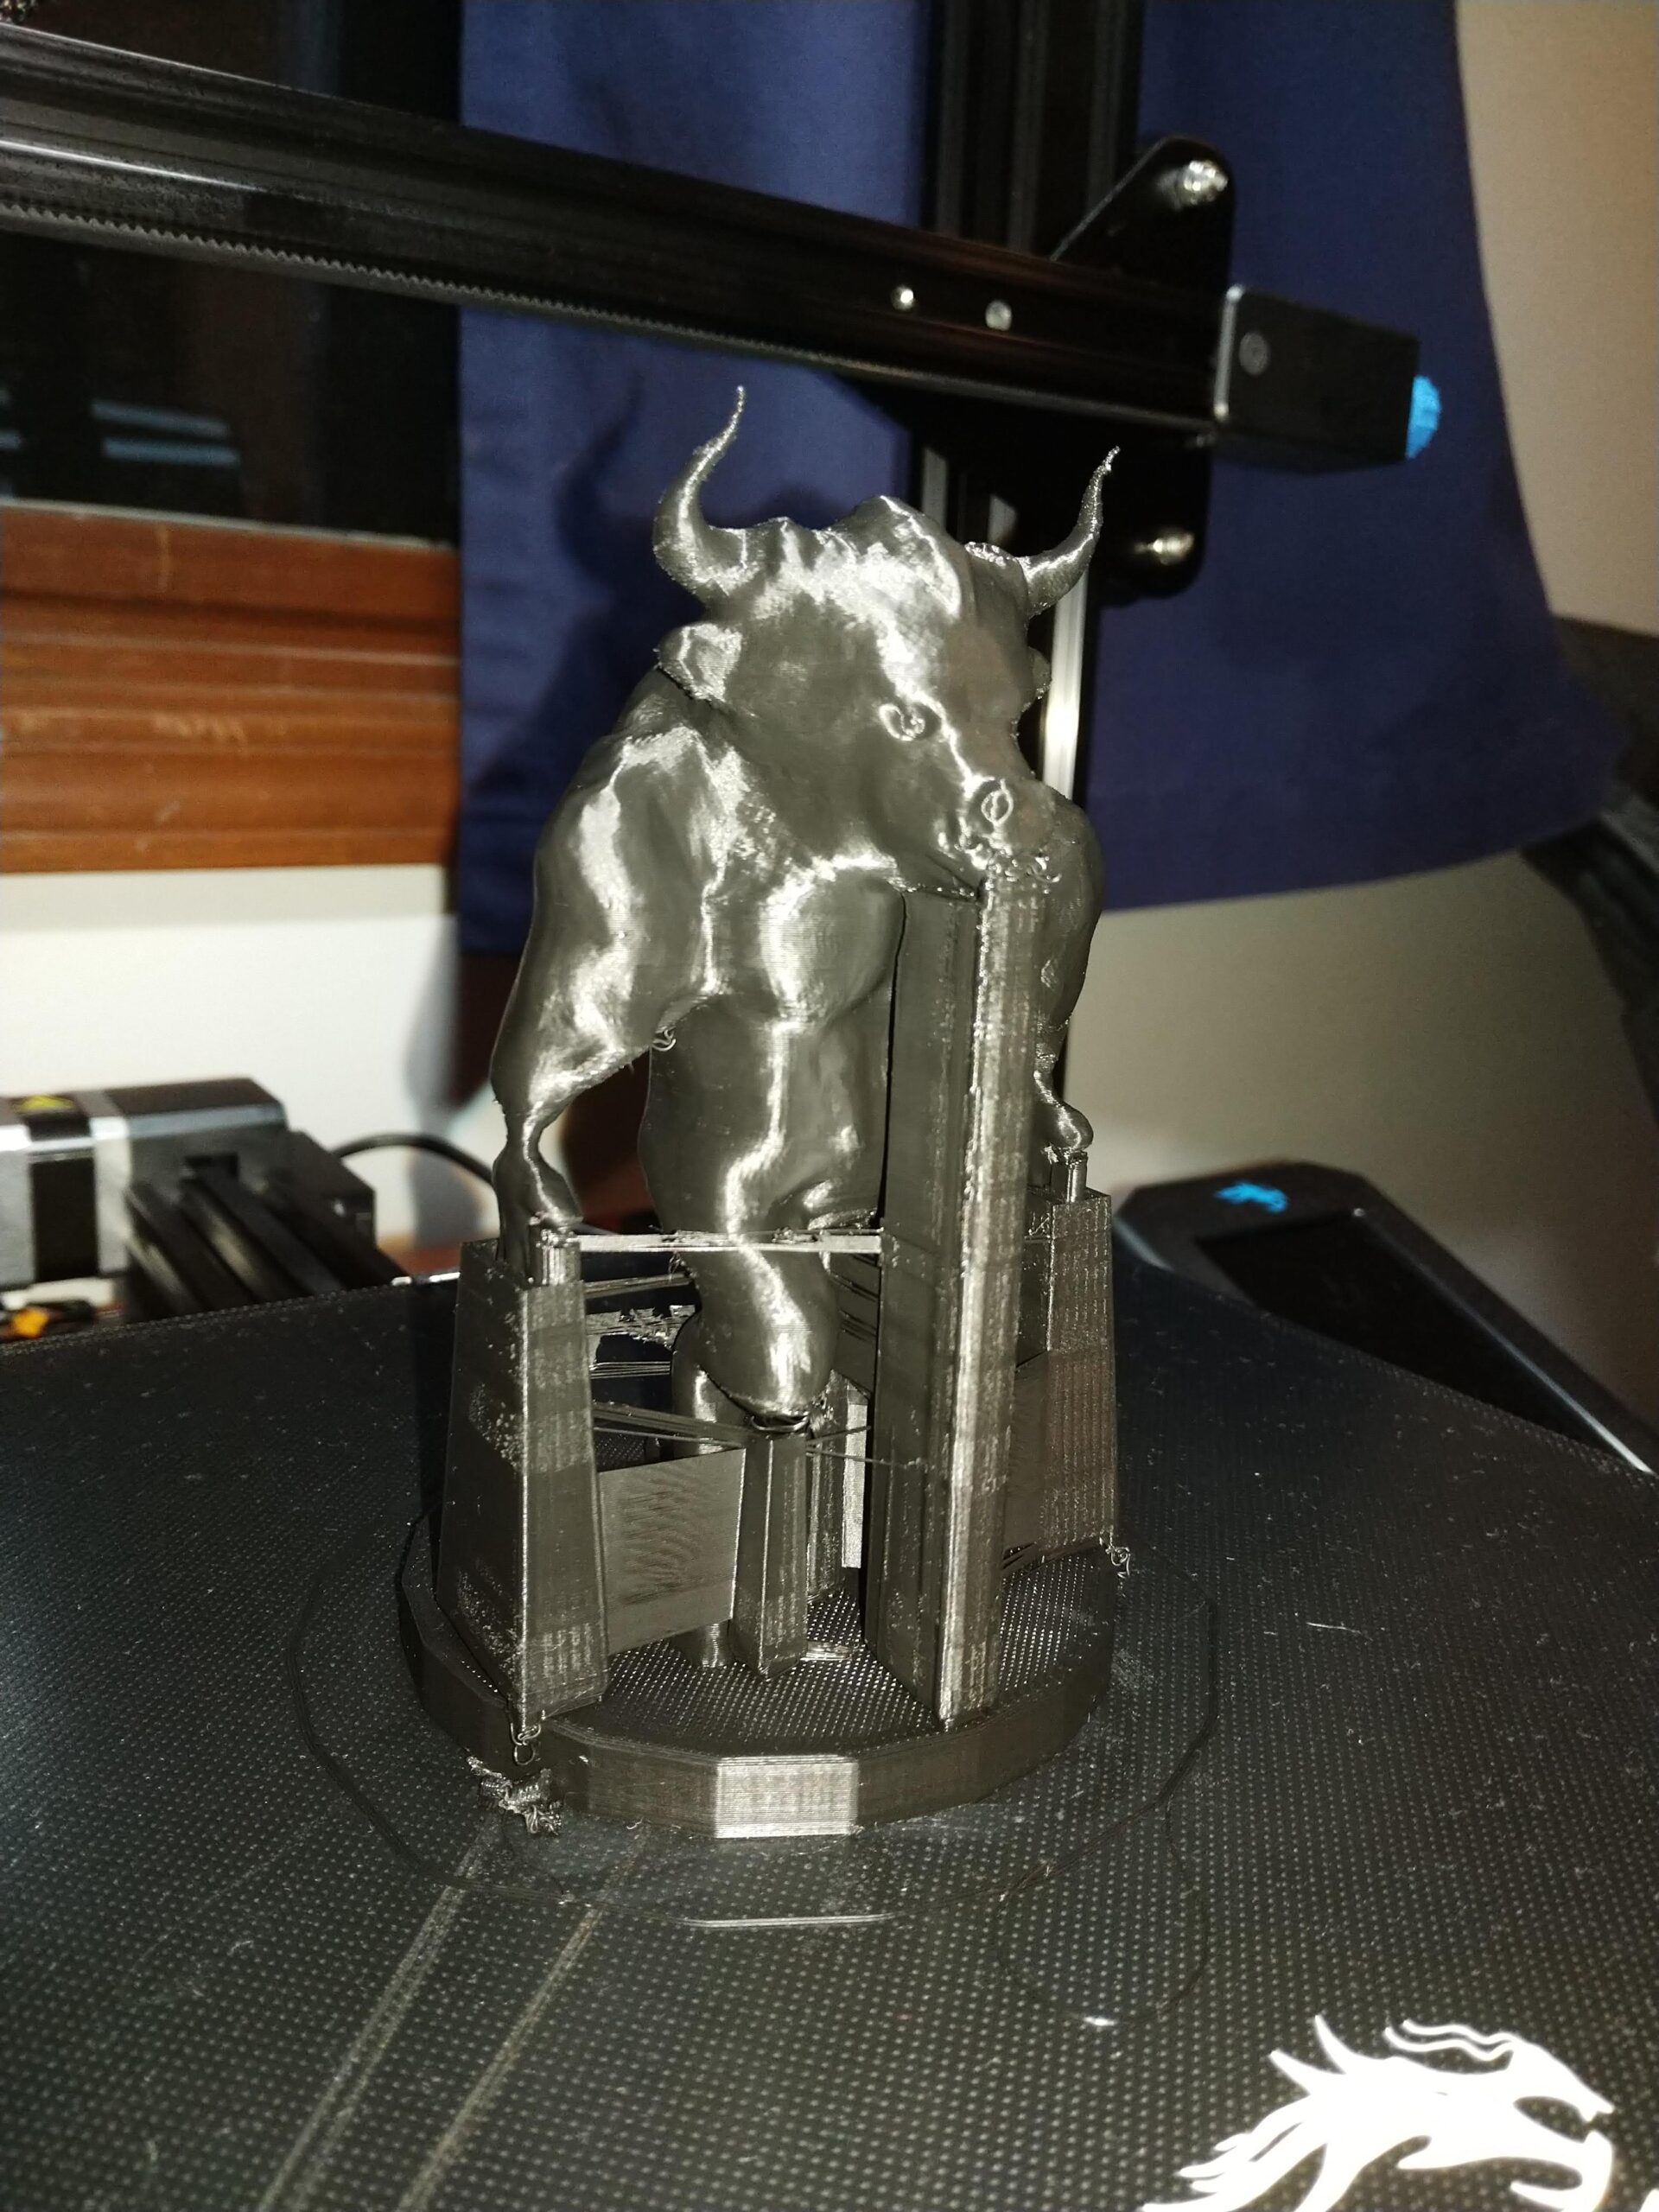
This is an example of support structures used correctly. I manually added them in where they were needed to make them easier to get off and this time around I made the support structure pattern and density different which worked wonders.
Finished Result:
This is a turntable render of the finished 3D model.
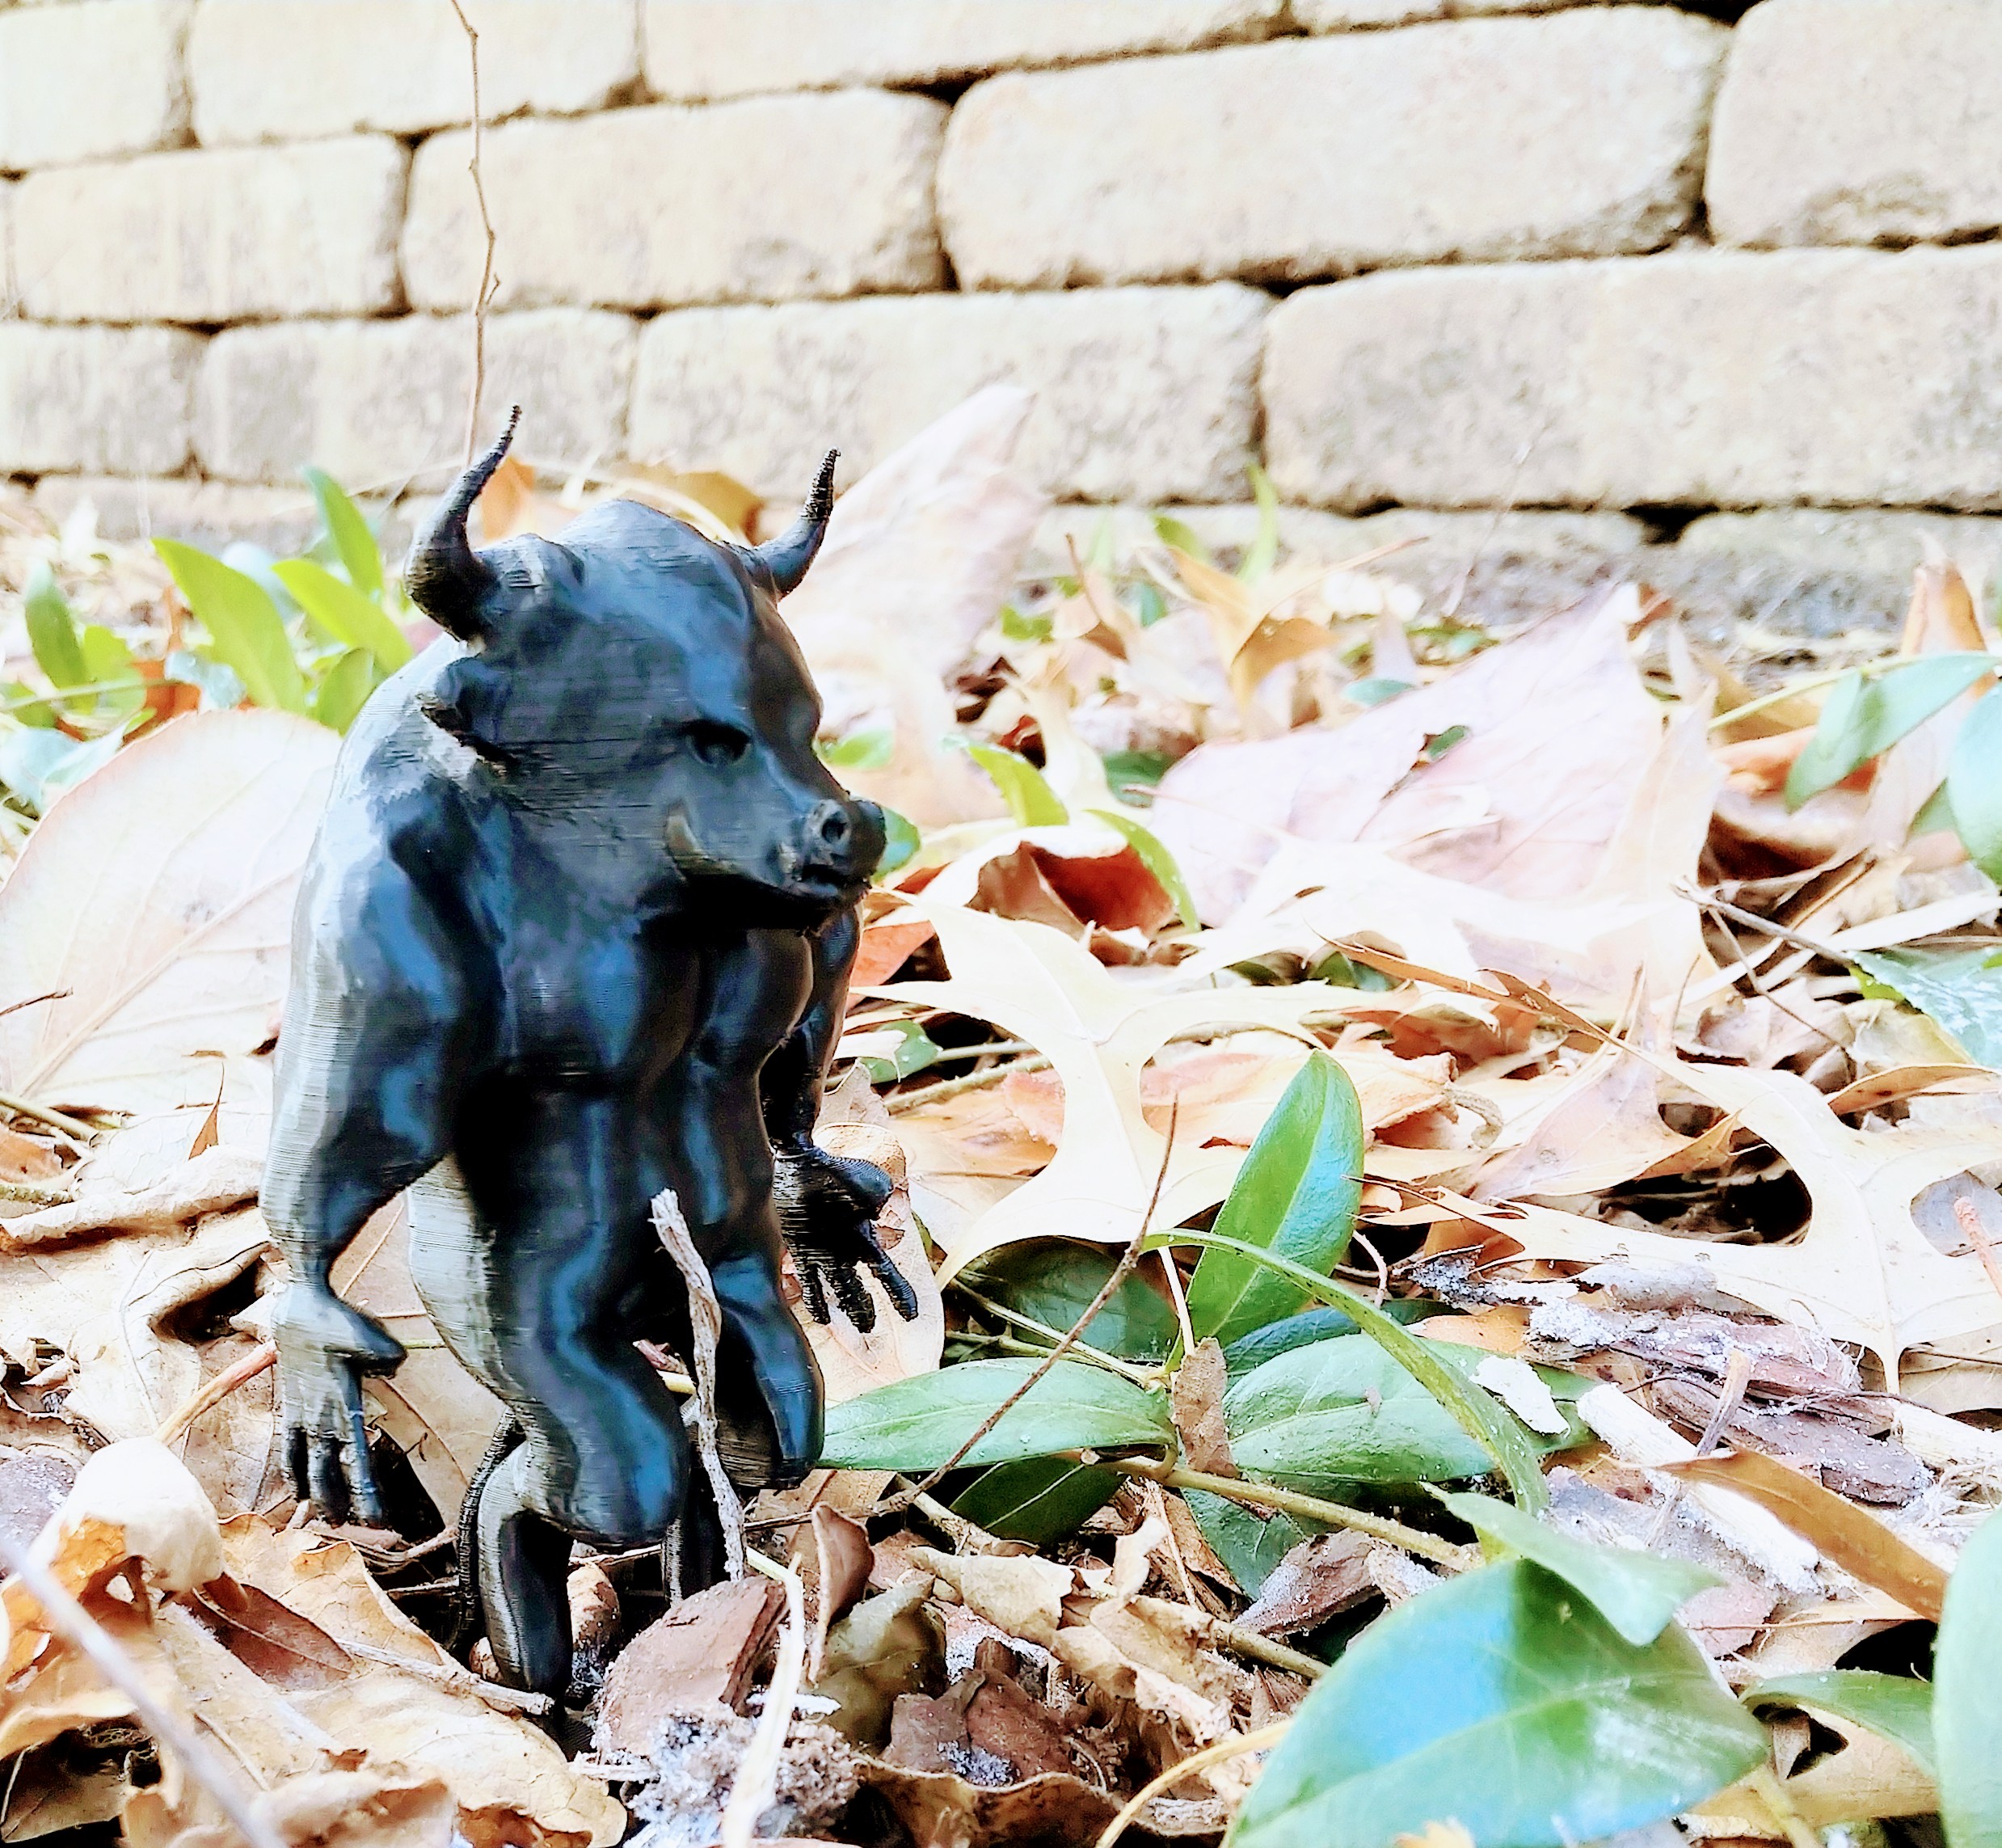
My creation came to life when I 3D printed him, he’s seen here enjoying the sunshine.
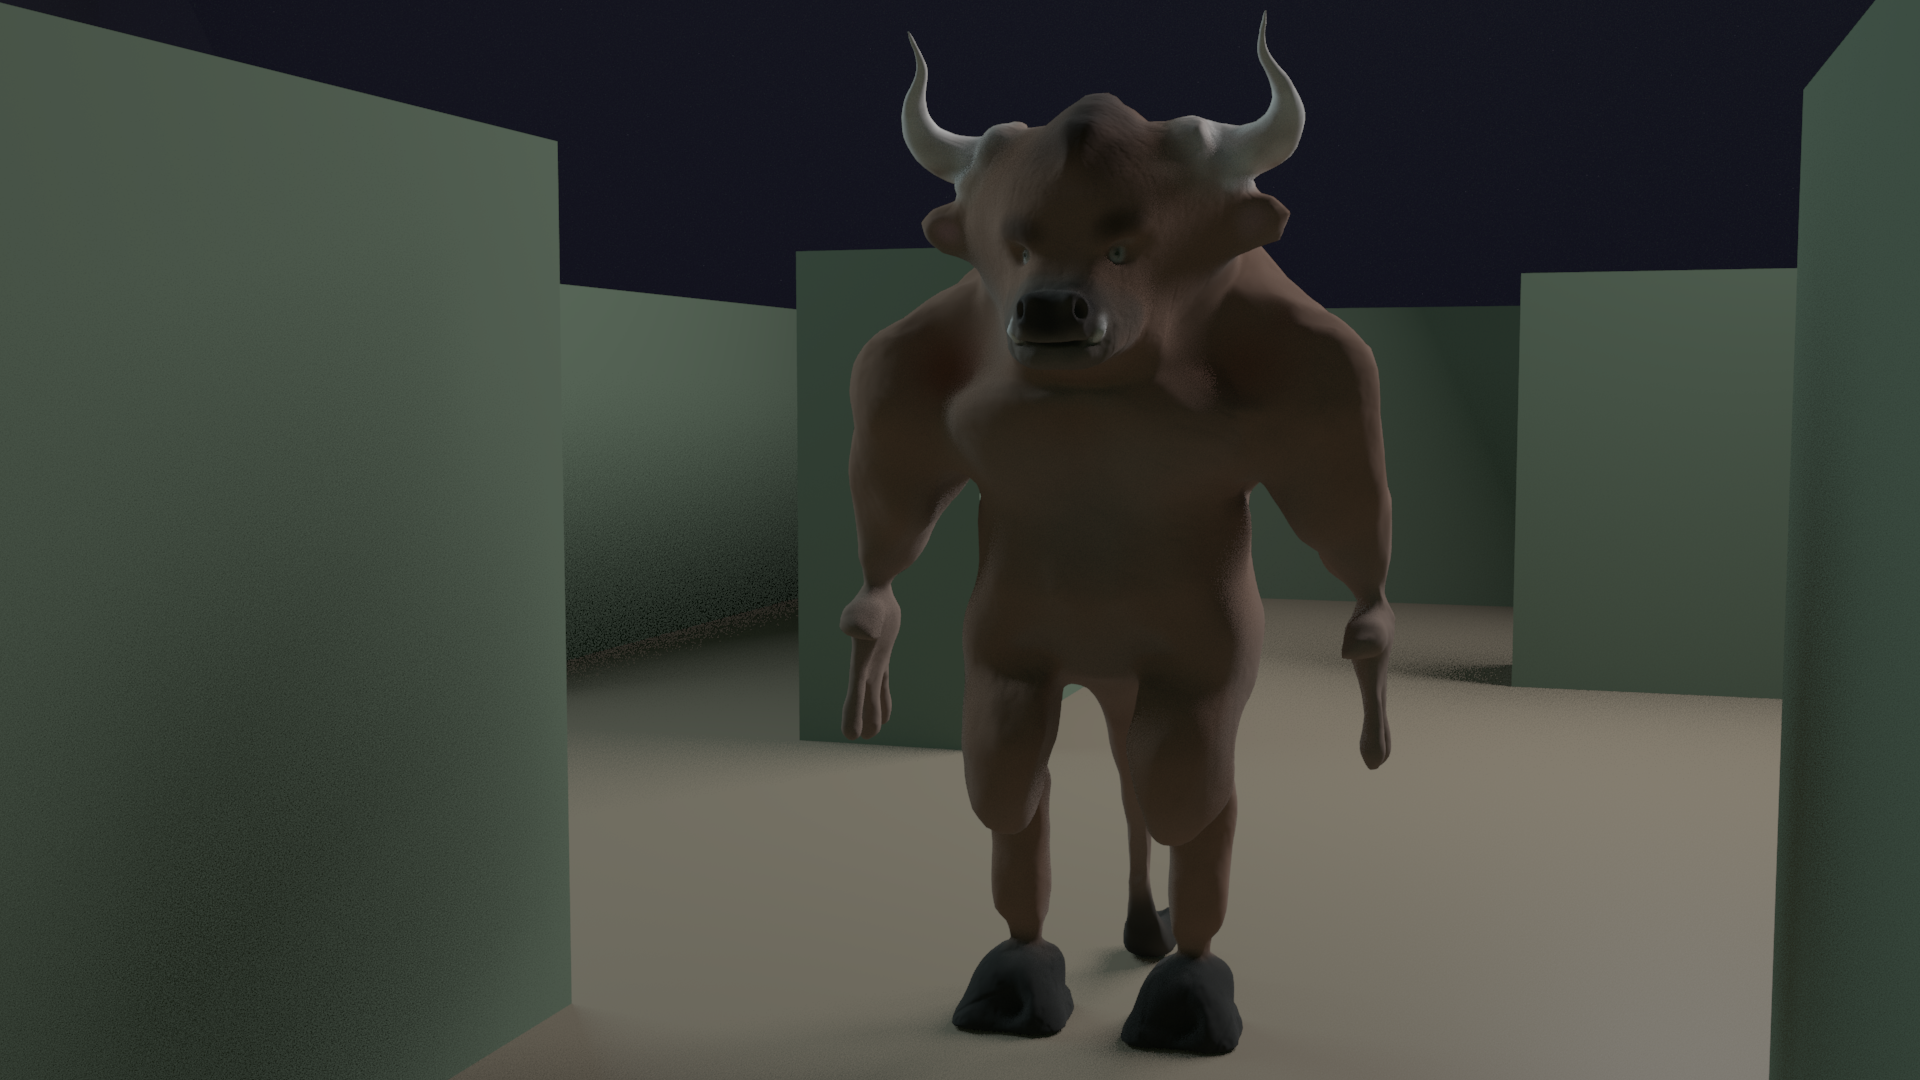
Maddox the Minotaur is shown here in a labyrinth.


