Minecraft Mod for Version 1.15.2: Christmas Craft
Development Process
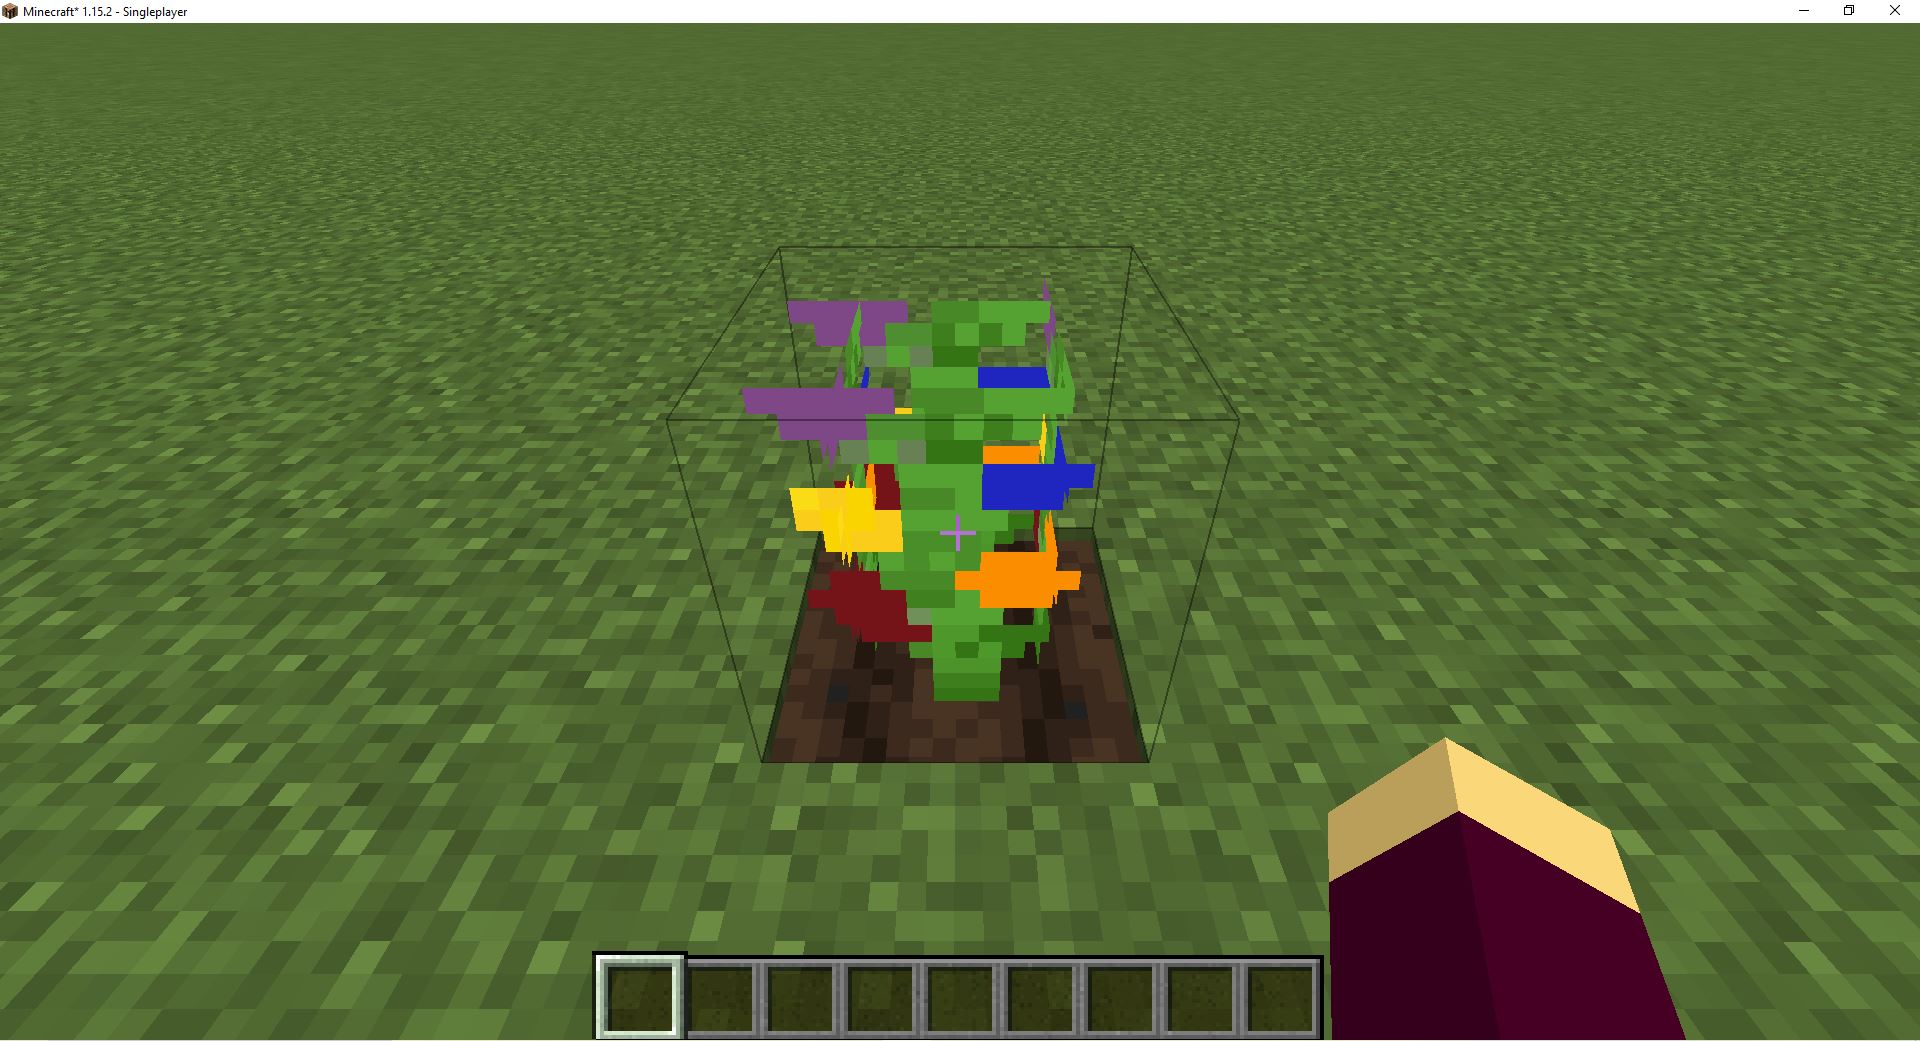
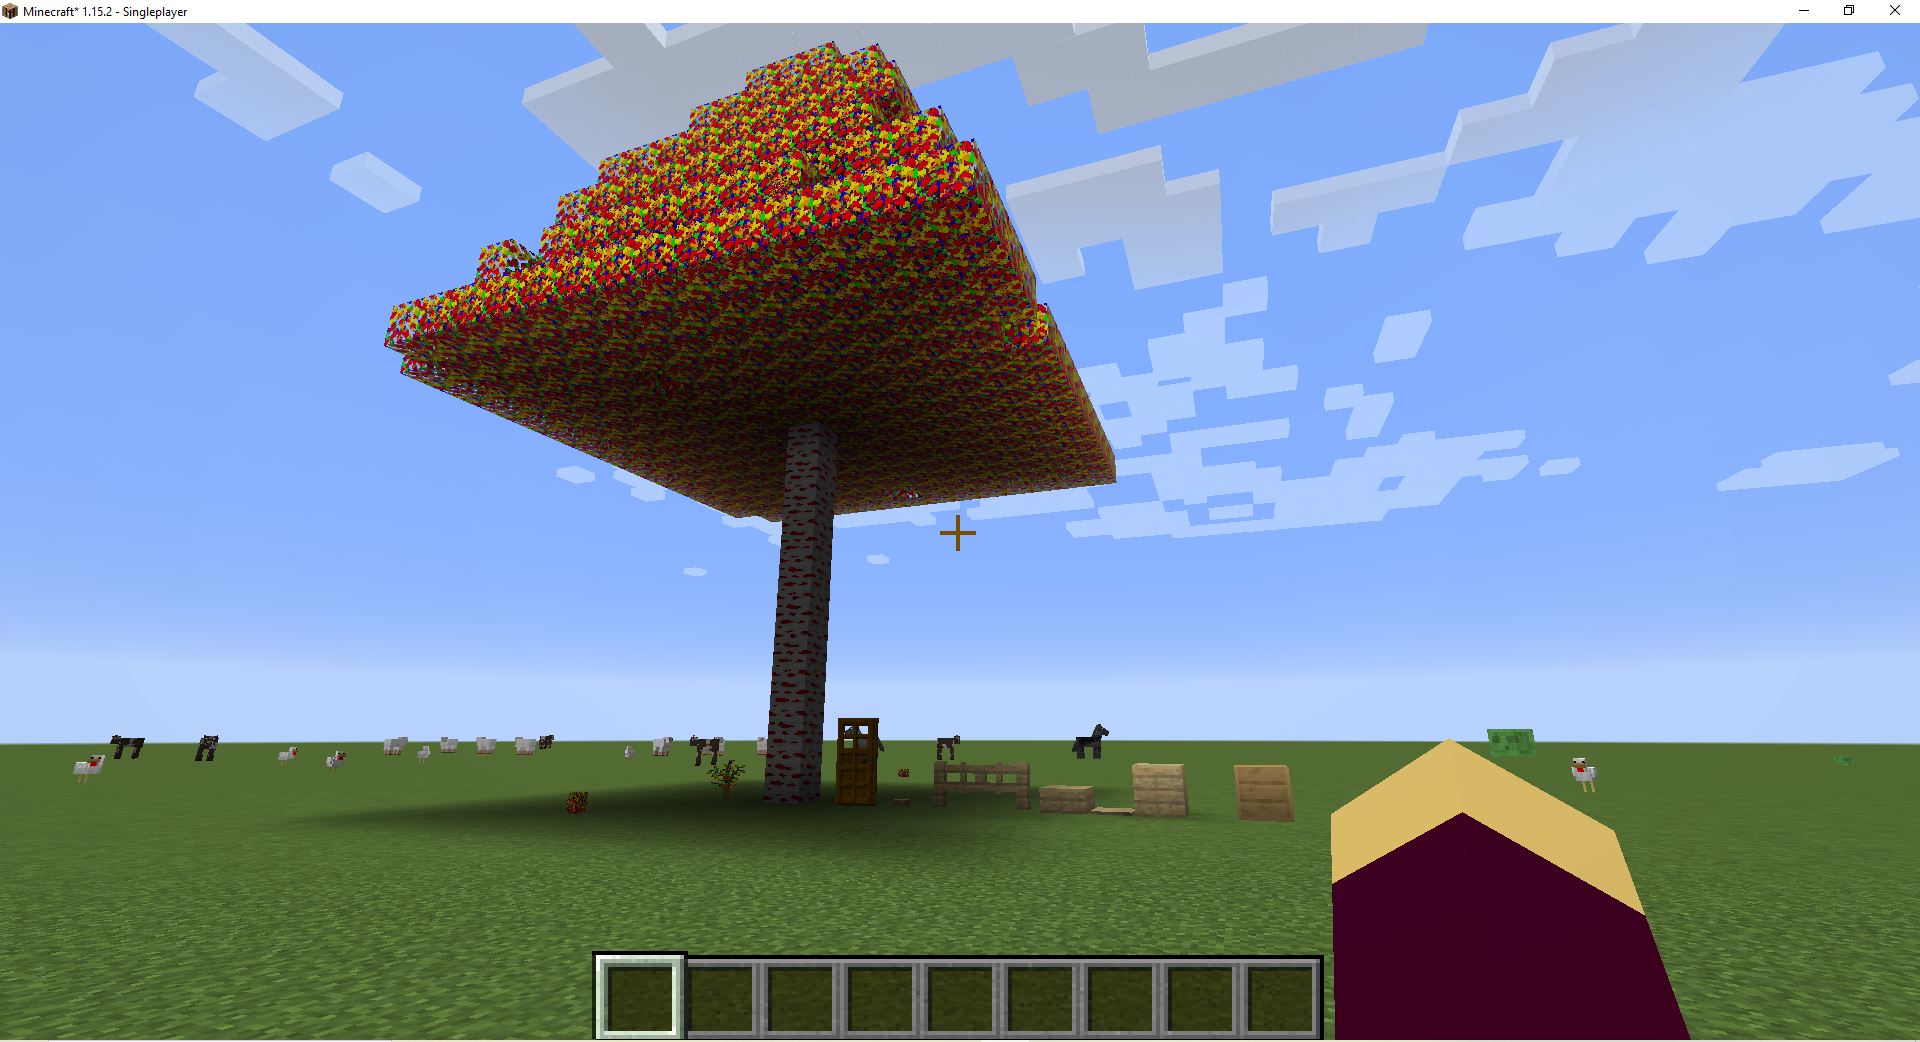
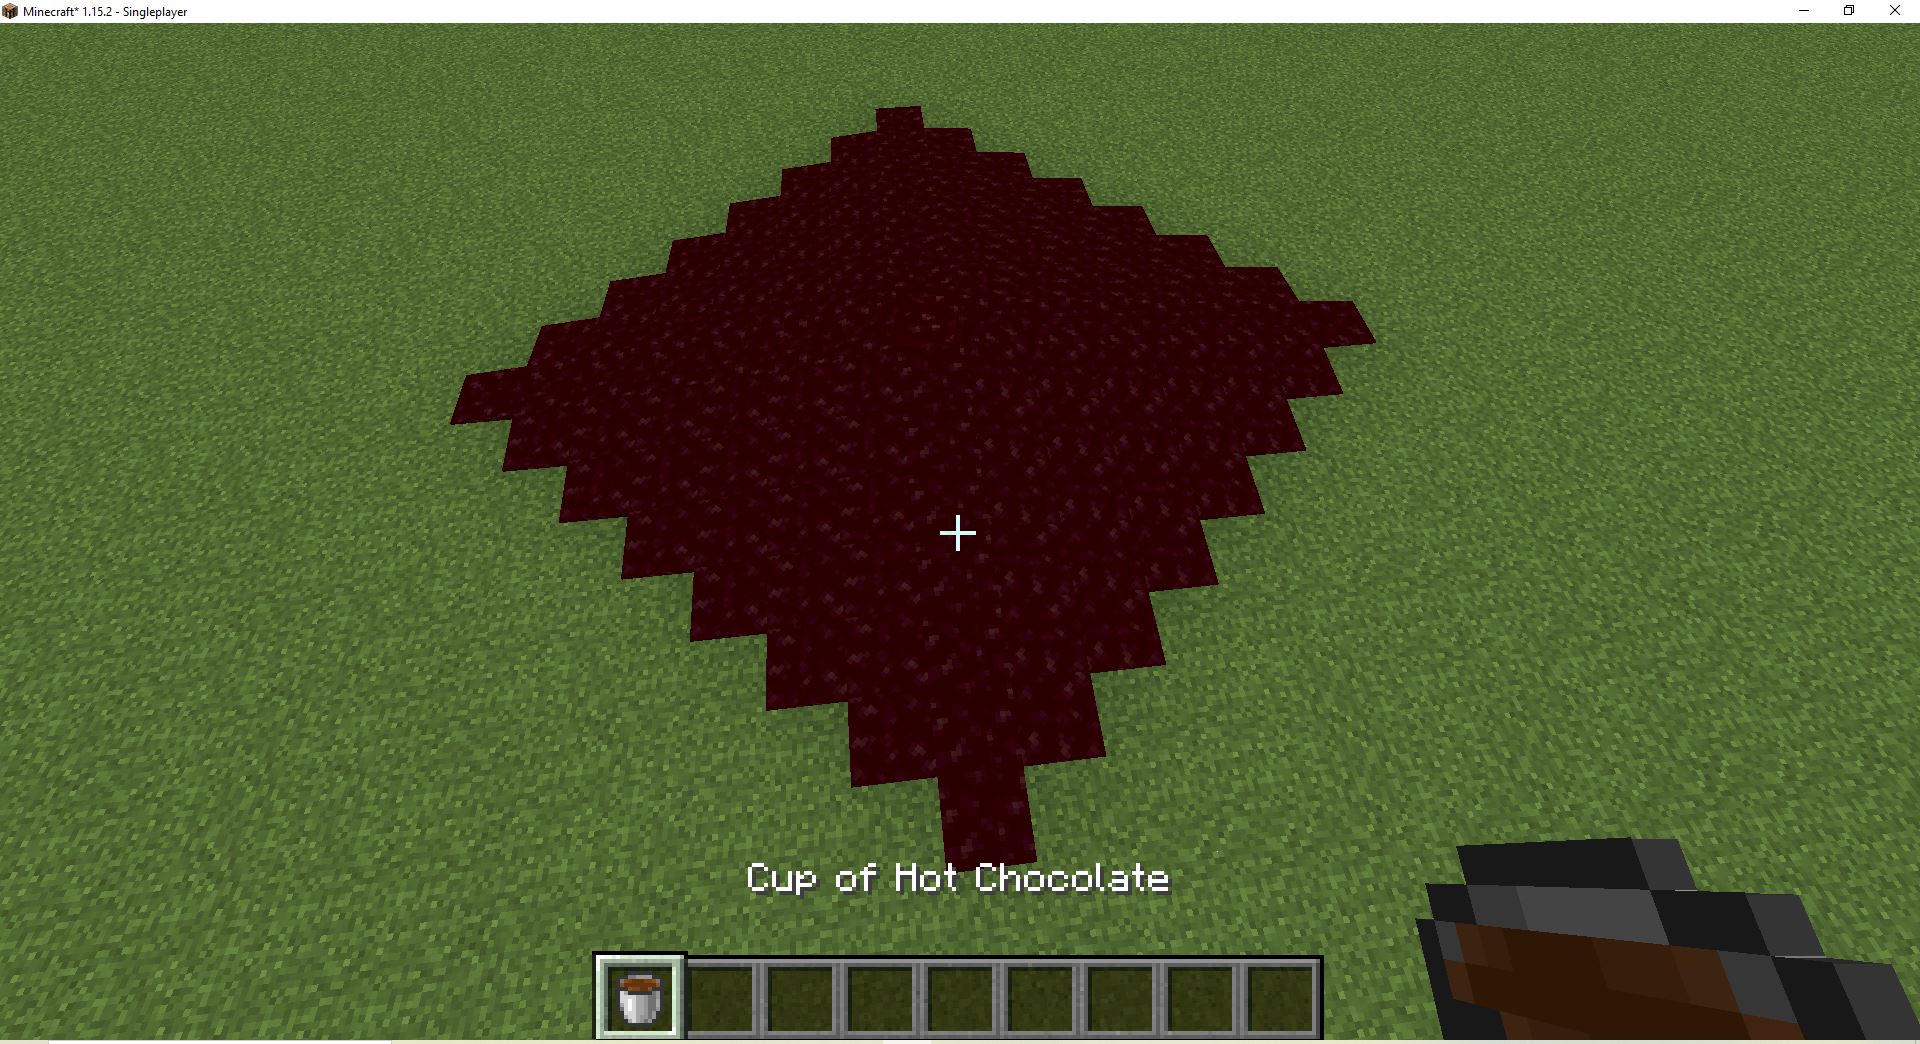
Initial Concept: There are a lot of fun stories associated with Christmas, the North Pole, Santa Claus, Krampus, etc. In my Minecraft mod I wanted to create a sense of wonder for the player like I did as a kid hearing Christmas stories. To achieve this I have a Candy Land biome, monsters disguised as Santa, and other fantastical inventions such as a coal extractor and presents with surprise contents inside.
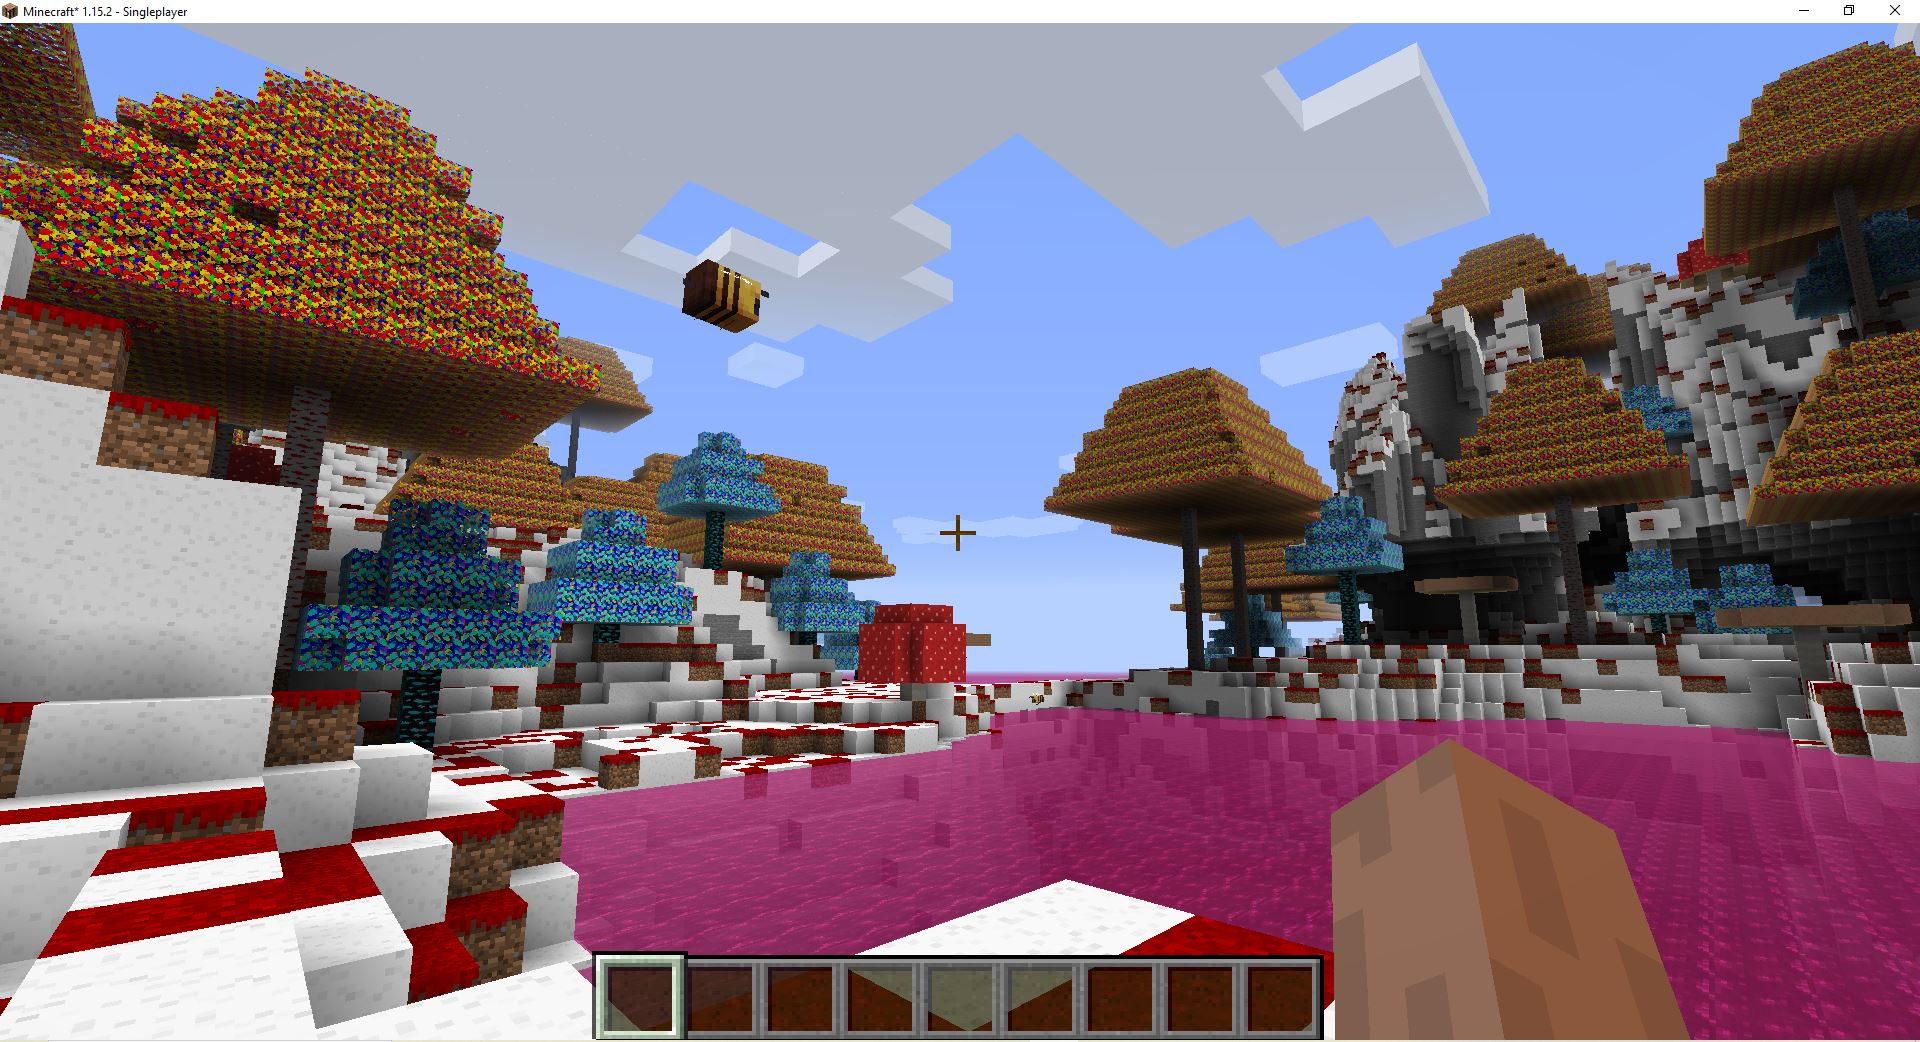
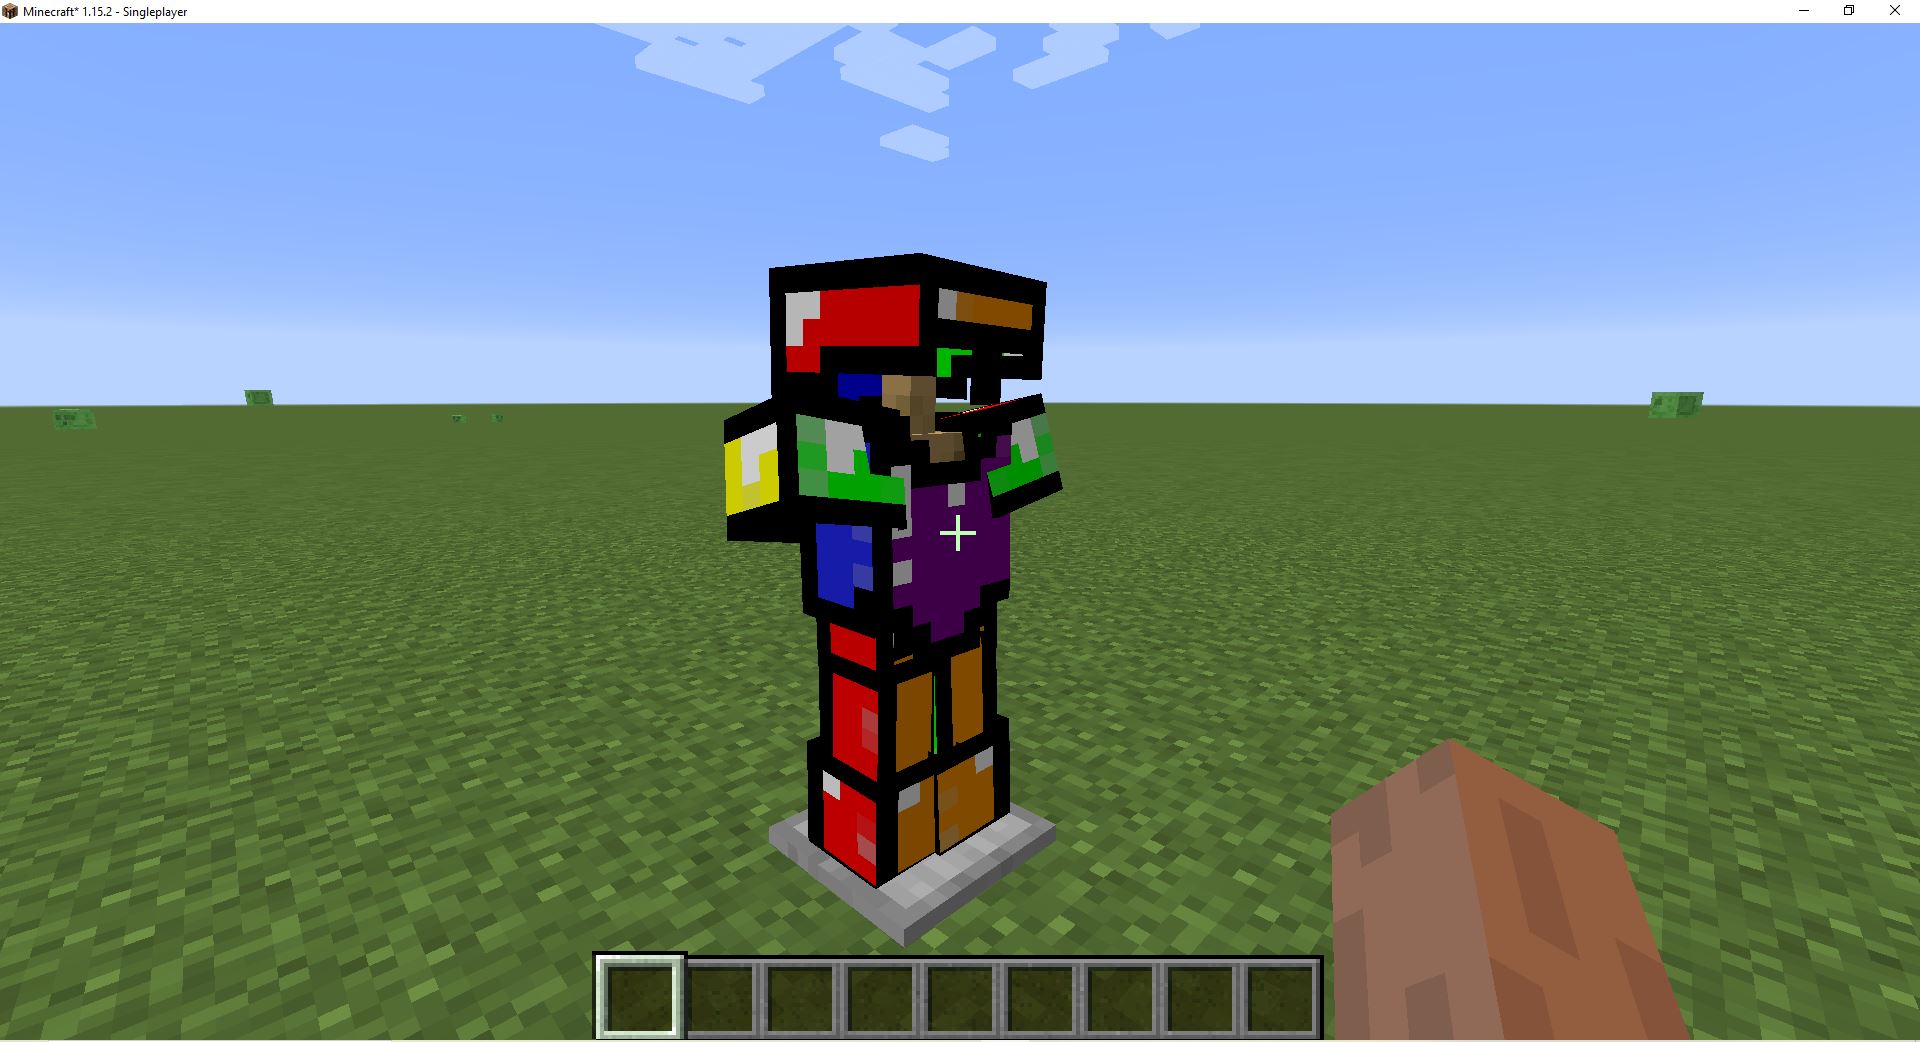
3D Model Designs: I went for a simple, blocky design for my models, mostly because that is the way Minecraft is styled.
Pixel Art Design: To build all of the unique textures I utilized GIMP (GNU Image Manipulation Program).


Putting It Into Code:
Setting It Up: First, I had to make an environment variable to set up my Eclipse project where I used Java. Then, I used the Windows command prompt to build the gradle files associated with Minecraft Forge to be able to start modding.
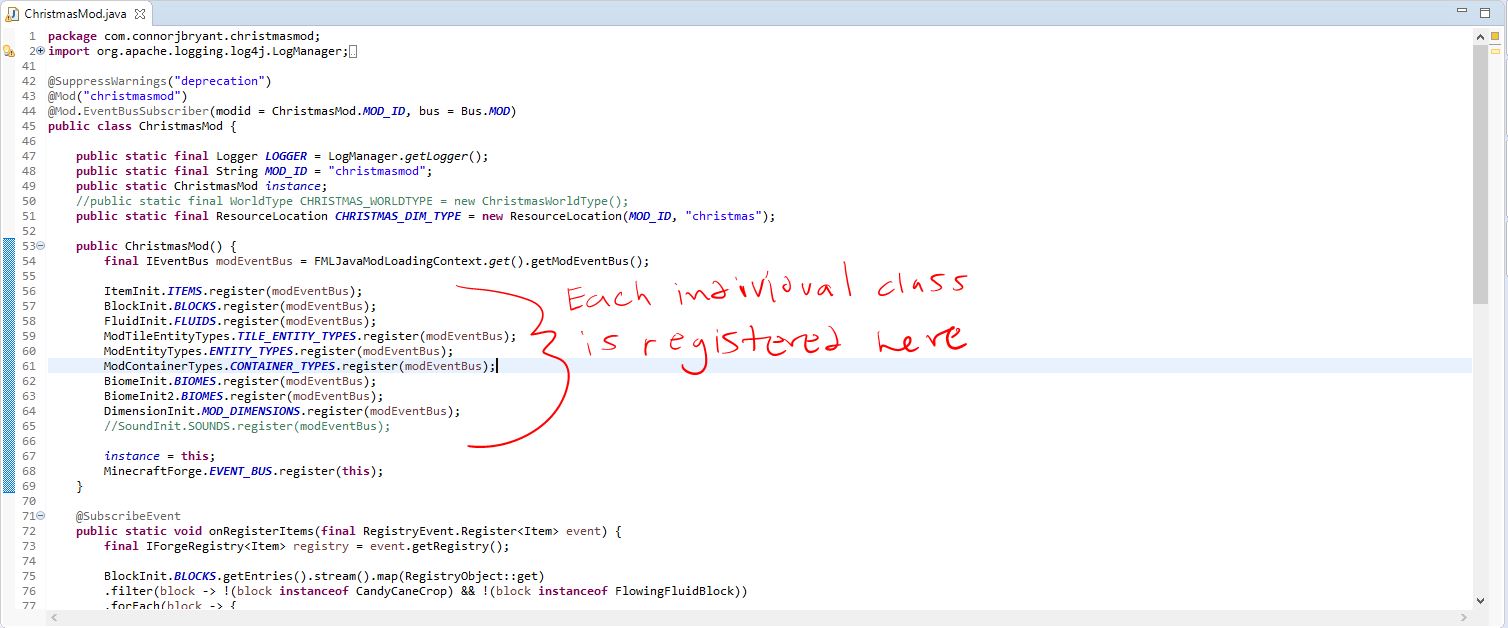
The Registering Step: When I began I used non-deferred registries to initialize everything but this took up an unnecessary amount of computational power. In the end I used deferred registries because instead of using three lines of code to register an object it only took one line.


Adding More Detail: To add more interesting things in my mod I had to make my own custom classes that extended off of the basic classes Minecraft Forge came with.
World Generation: The way I went about generating my stuff into the world was by making different initialization classes for things I wanted (biomes, ores, trees, etc.) Then, I registered those classes in a separate file.
The Rendering Step: To get everything to work I had to have all of the necessary JSON files for everything, and these files relied upon the JAVA files I made earlier. Then it was just a matter of having the correct file names for the pictures used for all the stuff I made.
Go more into depth on the GitHub repository.
Read the Christmas Craft mod guide here.

